Disclaimer: As of writing, I have made this tutorial for illustration purposes only. The images below may not be the same with AlertPay’s actual site. AlertPay reserves the right to amend, update or change the site’s layout at any time.1. Be sure to have your own e-mail account that you can use for your PayPal account only. Even if you have an e-mail address that you use to communicate with friends and family, it is better to have a separate one that you can use just for your PayPal account.
2. Sign up here. 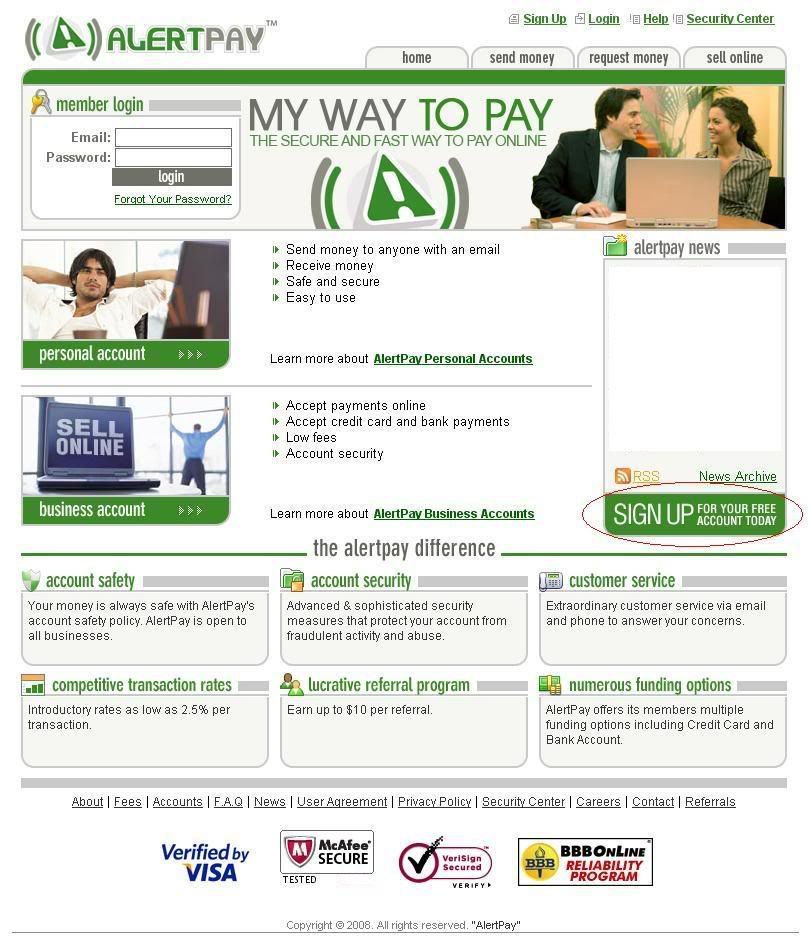
3. Start creating your AlertPay account by choosing your country and type of AlertPay account.
For the purpose of illustration, I will choose a Personal Starter account.
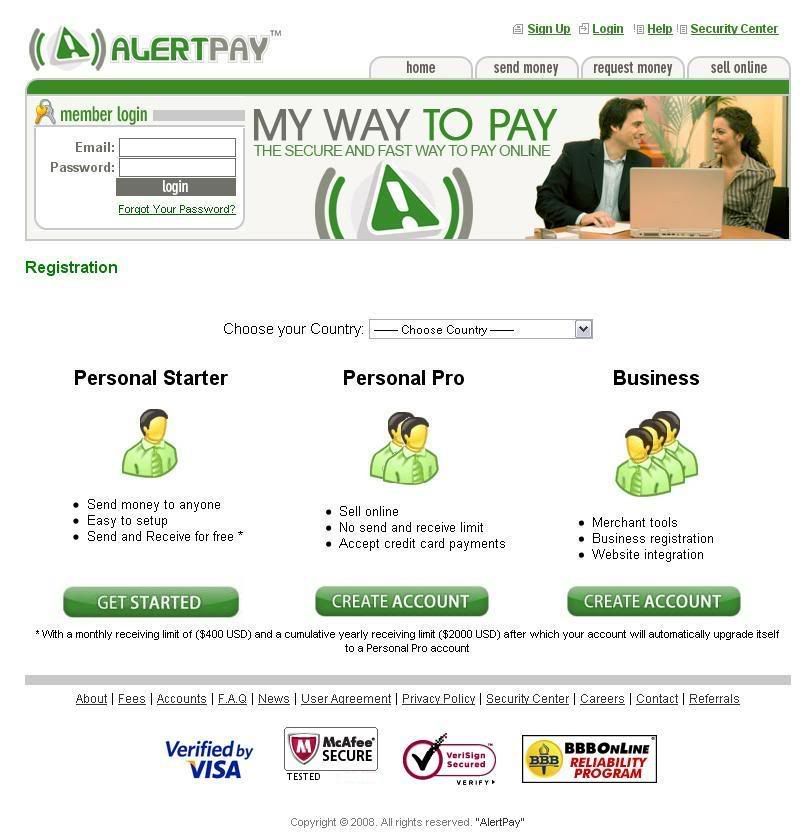
PERSONAL Starter: It is the perfect account to send and receive money from friends, family and occasionally payments. Personal Starter accounts do not have selling tools, but do have easy funding and withdrawal methods. You can have a maximum of 2 emails associated with your account. It has a monthly receiving limit of $400 USD and a cumulative yearly receiving limit of $2000 USD after which your account will automatically upgrade itself to a Personal Pro account.
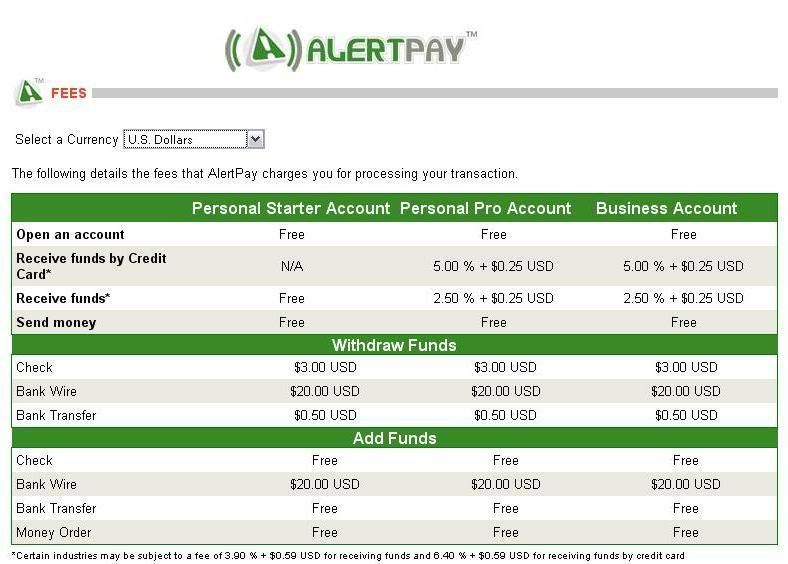
PERSONAL PRO Account: There are no receiving limits. You will have access to features like: Mass Pay (send out payments to groups of people), Integration tools and website payment methods (Buy Now Buttons, Subscriptions and Recurring Payments Instant Payment Notification). Receiving fees is 2.5% + $0.25 per transaction. If you are an active seller or you an avid online shopper, choose the AlertPay Personal Pro account today!
BUSINESS Account: It is tailored to meet all the needs of your online business. If you are managing a business under your business name, this is the account for you. You will have access to numerous online business tools to help your business grow online and you will have unlimited emails associated with your account. This account has low transaction fees of 2.5% + 0.25 per transaction (additional fees may be applied for specific industries).
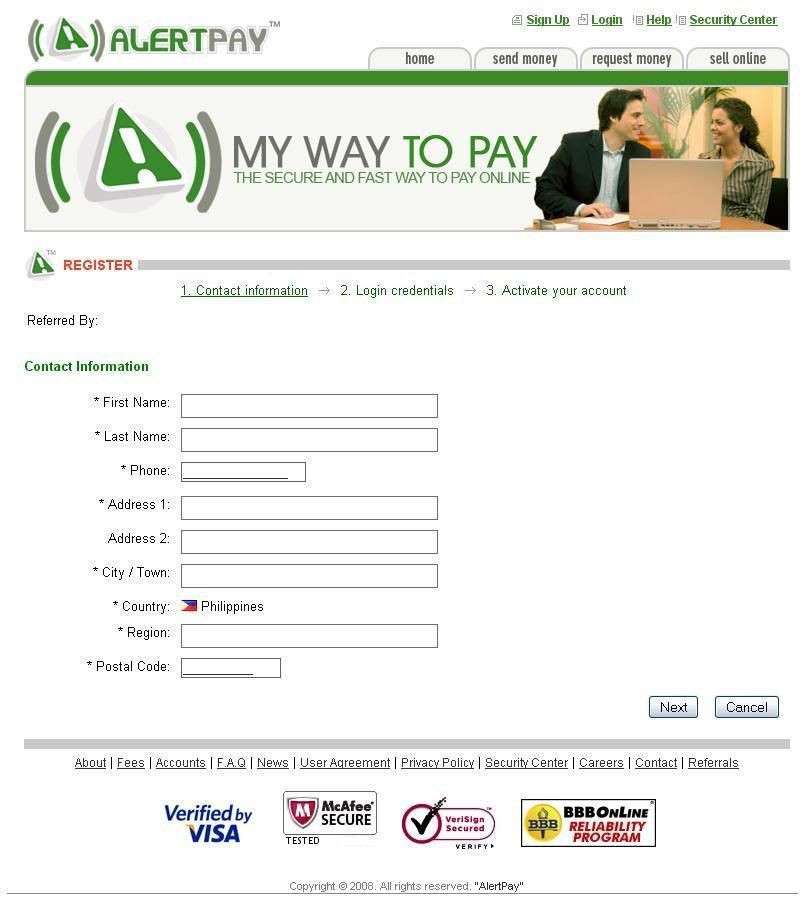
4. From there, you will go to a page that asks for your basic personal information -- your name, address, telephone number and e-mail address. You will also be required to enter security questions in case you lose your password, and you have to enter a randomly generated series of letters and numbers, which help prevent fraud. Once you confirm your account, a sign-up confirmation will be sent to you via e-mail.
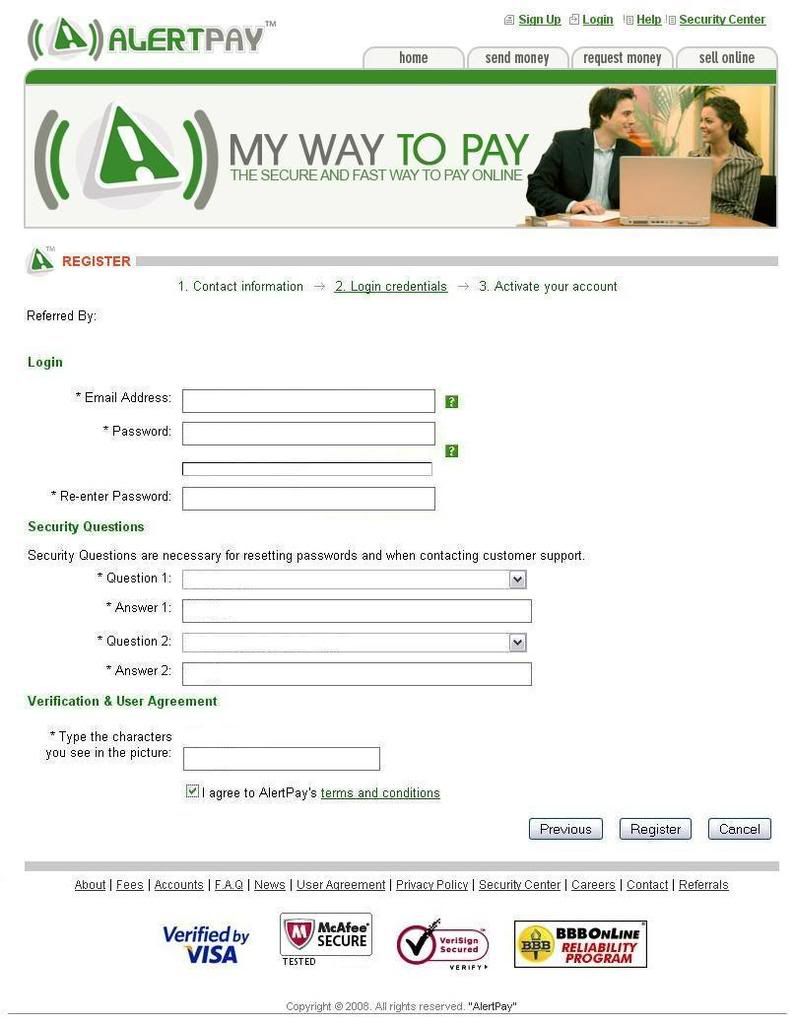
5. Open your e-mail and your will see confirmation e-mail from AlertPay. Click on the link to confirm your e-mail address.
6. Congratulations! You have confirmed your AlertPay account. Login and you will be directed to your AlertPay account page. You will be asked for a secondary password, this is for your transactions.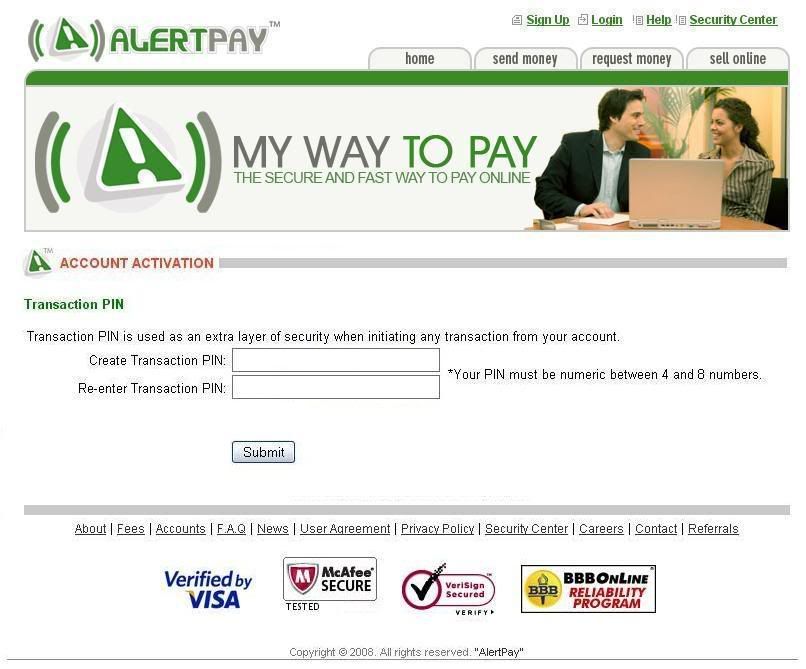
7. Familiarize yourself with your new AlertPay account interface. Then verify your account.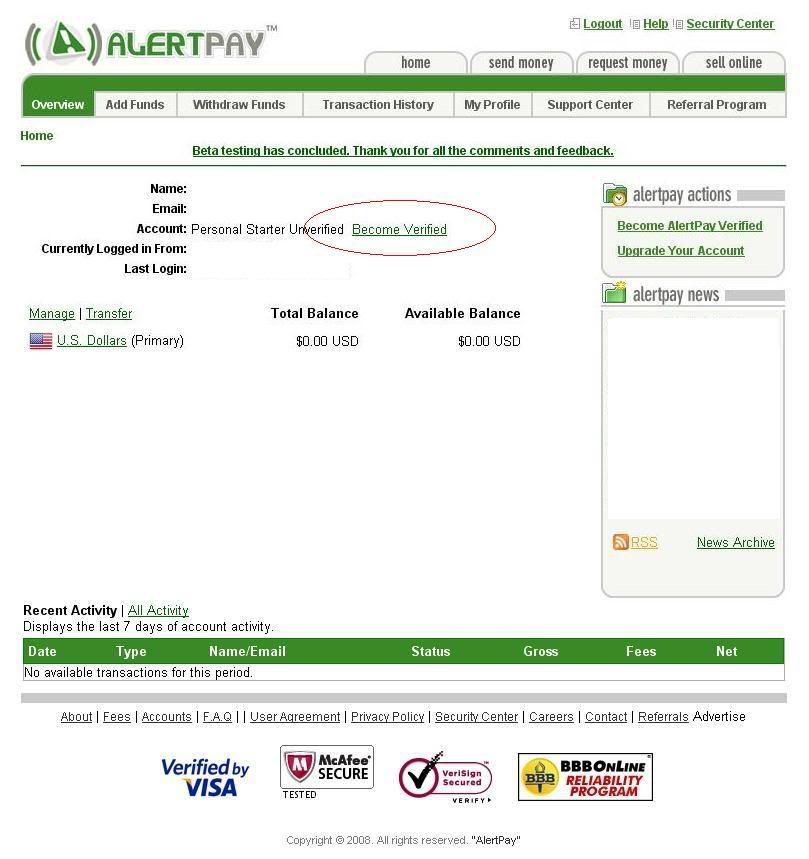
Account verification identifies who you are as a KYC (Know your customer) policy. It is important for the AlertPay network that members identify themselves by submitting documentation to protect their members against fraud. At any time, AlertPay can ask you to become verified.
Verification of an AlertPay account is not necessary in order to, add or transfer funds. The verification increases the security of AlertPay’s network to be able to verify and authenticate users. Although not necessary, verification is highly recommended. In some cases as well when various transactions involve substantial amounts, AlertPay’s security center may ask some members to verify their AlertPay account in order to proceed with their transactions.
Click here on how to get verified.
8. You can now use this AlertPay account e-mail address when signing up with your online businesses to accept payments. Remember to read the User Agreements/Terms and Conditions or the Help Center if you have any questions.
I wish you good luck and great earnings!
AlertPay is the easiest way to receive money online.
You don’t have an account yet? Click here to sign up.

More »
 Turn your valuable blog visitors into cash.
 RSS Feed
 Twitter
 10:41 AM
 Bg dani
 Posted in


